
EXTERIOR PAINTING
Exterior Painting Preparation for Hamilton Cladding
Ask the painter to identify loose coatings, damp areas, repair needs and safe access before pricing. Older paint may contain lead; older fibre-cement cladding may contain asbestos. Suspected hazards need assessment before scraping, sanding or cleaning. Paint is a finish over a suitable surface, not a structural repair.
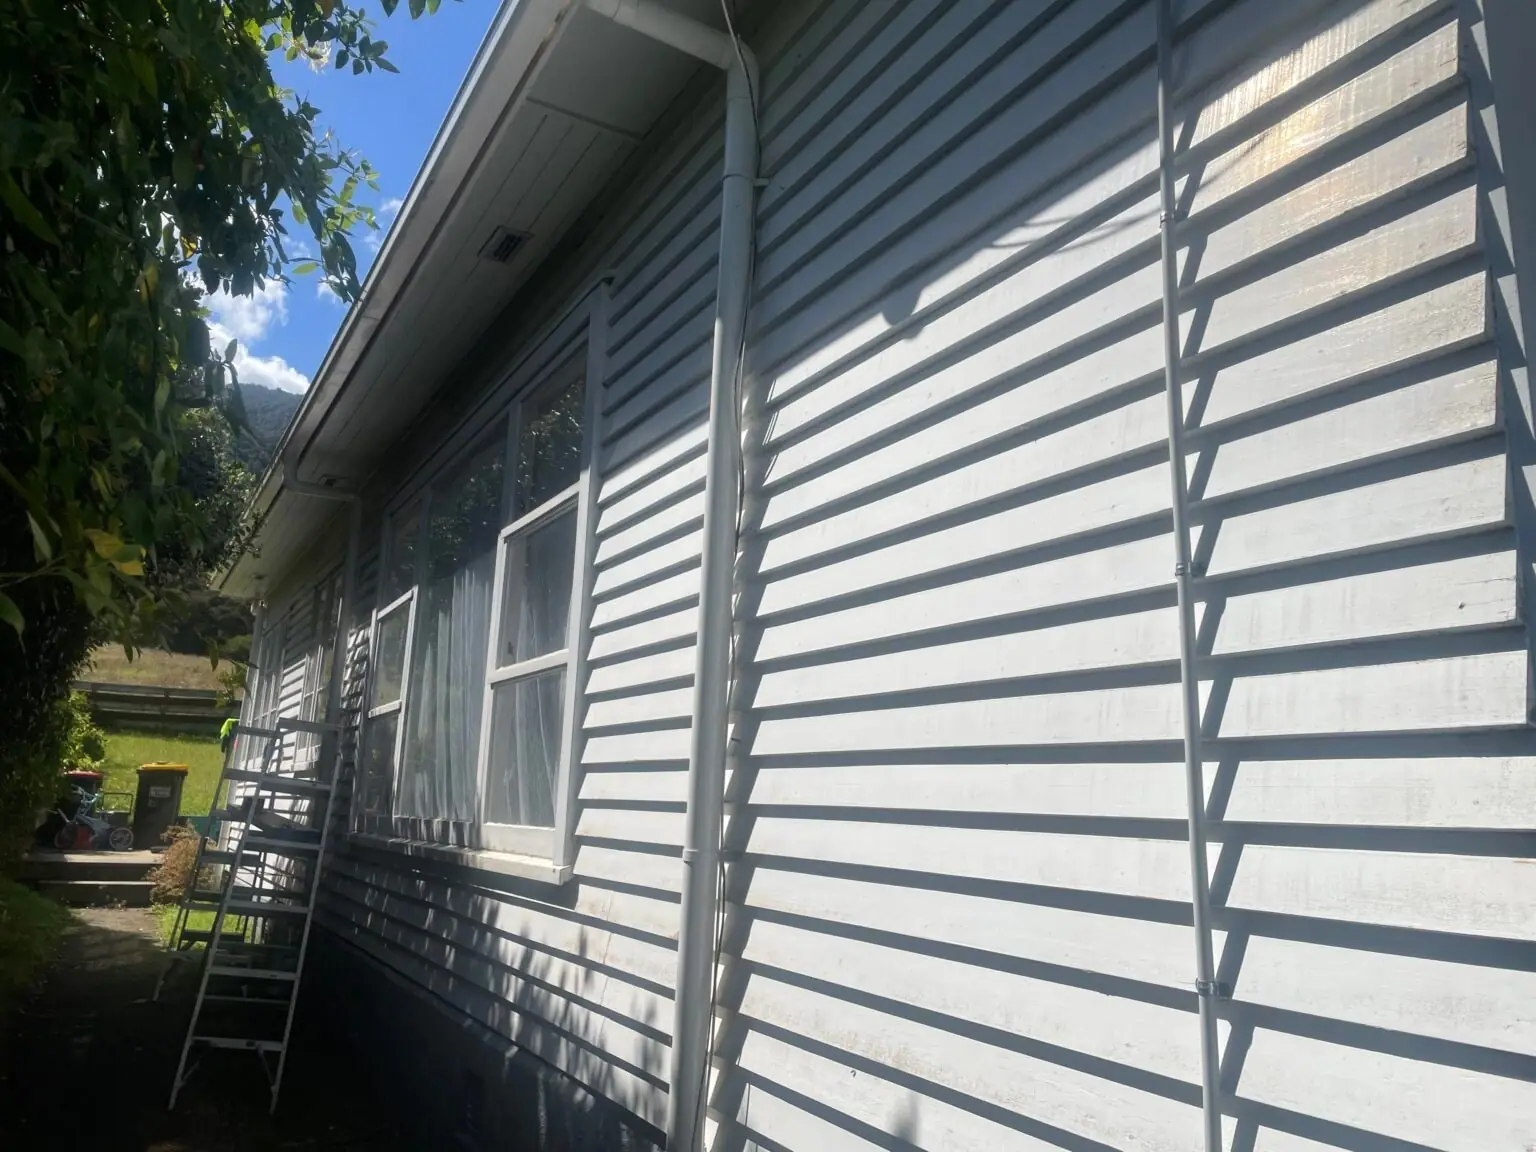
Check old paint and cladding first
Older paint may contain lead, and older fibre-cement materials may contain asbestos. Suspected hazards need assessment before scraping, sanding or cleaning. Choose controlled preparation and waste handling suited to the identified materials, and arrange structural repairs with an appropriate specialist.
Exterior paint lasts only when the cladding beneath it is sound, clean and dry. Work through the surface in order: inspect, wash, repair, scrape, manage moisture, prime and then apply a compatible coating system.
Preparation determines both appearance and service life. Hamilton's rain, UV and damp shaded elevations expose weak adhesion quickly, so the written scope should identify repairs and bare areas before access equipment and paint arrive.
Step 1: Assess the condition of the cladding
Walk every elevation. Note soft timber, open joints, failed flashings, mould, chalking and areas that stay wet. Probe suspect boards. Photograph north and west faces that take the hardest sun. A written scope before scaffolding saves surprises mid-job.
Step 2: Clean the surface
Wash biological growth and chalk thoroughly. Use products suited to exterior mould, then rinse. Don't blast soft weatherboards with uncontrolled high pressure that drives water into laps. Clean boards are the only honest base for adhesion tests.
Step 3: Repair damage
Arrange repairs appropriate to the cladding and the cause of damage. Rot, moving cracks, loose boards and failed flashings need assessment before filling or painting. Use compatible repair materials and follow the cladding manufacturer’s joint details; structural or weathertightness defects may need a specialist.
Step 4: Remove loose paint
Scrape peeling and blistered film back to a firm edge. Feather sand transitions. Painting over loose film only traps failure under a fresh colour.
Step 5: Protect against moisture
Check flashings, sills and ground clearances. Allow cladding to dry after washing. In Hamilton's damp spells, rushing primer onto wet boards is a short path to blistering. Treat mould-prone shaded walls as part of weatherproofing, not as a cosmetic afterthought.
Step 6: Prime the surface
Prime bare timber, tannin-rich species and patched areas with the right primer family. Spot-prime repairs so the topcoat doesn't flash. Full-field primer may be needed on exhausted old film.
Step 7: Choose the right paint
Match the system to the substrate: timber weatherboards, fibre-cement and plastered surfaces don't automatically share the same primer or topcoat. Follow the manufacturer's preparation, coverage and recoat requirements for the selected products.
Why restoring cladding matters in Hamilton and the Waikato
UV, rain and biological growth expose weak systems. Good preparation protects the coating and sound material beneath it. For board-specific notes see weatherboard painting in Hamilton. For the full service scope see exterior painting.
North-facing elevations in Hamilton often show UV chalk first, while south faces stay damp and grow mould. Treat each elevation on its own merits rather than forcing one prep recipe around the house. Fibre-cement and timber also need different primers when bare patches appear.
Frequently asked questions
Can paint fix rotten cladding?
No. Paint is a skin, not a structural fix. Replace or repair failed timber and fix moisture paths before any coating system.
How important is washing before exterior paint?
Critical. Chalk, mould and dirt stop adhesion. A proper biological wash and rinse set up every coat that follows.
Should I prime after scraping?
Yes on bare timber and porous patches. Skipping primer is a common reason Hamilton exteriors fail early.
When should we paint in the Waikato?
Aim for dry spells with mild temperatures. Avoid coating wet cladding or painting into evening dew.
Get a clear exterior preparation scope
Mention peeling paint, timber damage, damp areas and access constraints. A site assessment helps separate painting preparation from any specialist repairs.
For this work, explore exterior painting. See Hamilton Exterior House Painting & Restoration for the preparation and result, then request a quote with your suburb, surface condition and preferred timing.
Technical references
START WITH A CLEAR SCOPE
Get the right preparation in your quote.
Tell us what you would like to improve, your suburb and your preferred timing. We’ll discuss the scope and arrange a site assessment.